If you’ve looked at any beginner-friendly or low-maintenance houseplant list, the Snake Plant is likely near the top. Also humorously known as Mother-in-Law’s Tongue for its sharp and structural foliage, this plant comes with a massive list of benefits.
One of those benefits, and the favorite one for frugal gardeners, is its ease of propagation. There are several ways to propagate Snake Plants and all of them are simple, delivering almost guaranteed results when properly cared for.
Here, we’ll cover every propagation method in detail, giving you a step-by-step guide to growing your favorite houseplants, absolutely free. Let’s get started on how to propagate snake plants!
Video Walkthrough
Check out the following video, as our very own gardening expert Madison walks through the steps you’ll take to successfully propagate snake plants by following a few simple steps.
About Snake Plans

Snake Plants are a part of the Dracaena genus.
Previously part of the Sansevieria genus, the Snake Plant now falls under the Dracaena genus, with the main species called Dracaena trifasciata. As this change was relatively recent (since 2017), you will still find these plants called Sansevierias or labeled by their other common name, Mother-in-Law’s Tongue.
Snake plants are incredibly popular houseplants thanks to their ease of care. These succulent plants, native to tropical regions of West Africa, can grow in almost any conditions. Give them low light or full sun, low or high humidity, and even poor-quality soil and they will thrive. The only thing they can’t stand, much like other houseplants, is being overwatered.
Ease of care is not the only benefit of growing Snake Plants. As part of the NASA Clean Air Study, Sansevieria trifasciata was found to remove several harmful compounds from the air, including benzene and formaldehyde. Although you would need a few hundred plants to replicate the same results, you can start to build up this collection by propagating.
There are so many ways to propagate Snake Plants, all requiring little time or effort. These plants root reliably and even produce smaller versions of themselves throughout the growing season that simply need to be replanted to produce an entirely new plant.
Give any one of these three methods ago, or try them all at once for as many plants as you can find space for.
Before You Begin
Even though the process of propagating is super easy, being well-prepared will make the entire process much smoother. Gather everything you need (including your plant) and prepare your soil mix before you start to eliminate any time-wasting while you’re busy.
Tools You’ll Need
The tools you will need will largely depend on which propagation method you choose. For all three you’ll need a small pot to propagate in and a prepared soil mix which we’ll discuss next.

Garden shears must be disinfected before use.
To propagate from leaf cuttings, you’ll need a sharp pair of shears or a sharp knife. A marker will also help identify the direction of the root growth in each section. If you want to propagate in water, you’ll also need a glass and some gravel to hold the cutting upright.

Sharp craft knife is helpful when cutting a longer leaf into sections.
When propagating by division or separating pups, all you need is a sharp craft knife. Make sure it is clean and free of rust before you start as this could spread disease and damage to the new plant and the parent plant.
Preparing a Soil Mix

Preparing the potting mix in advance will make the propagating process smooth.
Next, you’ll need to prepare the perfect propagating mix. If you want to grow your leaf cuttings in water, then you can skip this step but for all other methods, it’s best to prepare the soil in advance.
The easiest propagating mix is simply a succulent or cacti potting mix. This is great for pups or divisions where the plant won’t need transplanting later on as it is already in the right soil mix. The loose and well-draining consistency is also useful when propagating from leaf cuttings.
Those interested in a DIY option can always make their own propagating mix. A combination of potting soil and perlite or river sand is normally best for these plants as it drains well and dries out quickly. As these plants are succulents, they cannot sit in water, so garden soil or dense potting soil is not recommended.
How To Propagate Snake Plants
These three methods are all likely to deliver great results and one is no better than the other. Which you choose will depend on the plant you’re starting with and your growth goals.
Method 1: Leaf Propagation
Leaf propagation is one of the most common propagating methods, suitable for both young and established plants. Just one long leaf can yield several cuttings that will all ultimately grow into full and healthy plants.
Identify a Leaf

Choose a tall and healthy leaf to propagate into a new healthy plant or two.
First, identify your chosen leaf to propagate from. It should be thick and healthy with no signs of disease. Longer leaves will yield more cuttings but shouldn’t be stretched out or twisted, indicating signs of growth issues.
Remove the Leaf

Use sharp, clean shears to remove the leaf as close to the base as possible.
Grab your shears or sharp knife and remove the entire leaf at the base of the plant, as close to the soil as possible to stop the plant from looking untidy.
Split the Leaf
 Use the sharp craft knife to split the leaf up into sections.
Cut the leaf into 4-inch sections, marking the top of the cutting on each one to indicate the direction of the root growth. This will stop you from planting the cutting upside down which will prevent any potential root growth and only lead to rotting.

Marking the direction of growth is helpful when you go to plant the cutting.
Plant the Cuttings

Plant the blade edge into the potting mix that has been previously prepared.
Then, fill a pot with your chosen propagating mix and bury the cuttings just into the soil until they stand up on their own. You can plant multiple cuttings in the same pot as they will need to be transplanted later.
Water the Cuttings

Add water to the pot to ensure a healthy transfer.
Water thoroughly after planting to moisten the soil and encourage root growth. Ensure the water drains from the drainage holes to stop any potential waterlogging.
Propagating a Whole Leaf

Another easy way to propagate Snake Plants is directly in water.
If you want to turn your propagating efforts into a design feature while you’re busy, you can use a whole leaf and propagate in water. There is some extra maintenance involved in changing the water, but this display looks far better than a few compact cuttings planted in a pot.
Follow the same process as above, removing the entire leaf at the base. Then, fill a vase or glass with a couple of stones or pebbles to hold the cutting in place and fill the bottom with water. Rest the cutting inside the vase and place it in a bright area.
This method not only looks good but also allows you to keep a close eye out for root growth. As soon as the plant is ready, you can transplant it and take a new cutting to bring indoors.
Method 2: Division
Propagating by division is perfect for a plant that has outgrown its existing pot. It may be bulging slightly at the sides or has roots growing through the drainage holes, indicating it is in need of some extra space. Dividing and repotting go hand in hand and allow you to complete two messy tasks at one time.
Remove the Whole Plant

Take the entire plant you wish to divide out of the pot.
Start by removing the plant from its existing pot. If there is any resistance, gently squeeze the sides to release the compacted soil and roots. When the plant is free, loosen the roots and remove some soil around the base to get a closer look at the divisions. You can also rinse the crown with water to make it clearer to see.
Identify Where You Will Divide

Select the ideal place to split the root system, which tends to be a natural divide.
Once the roots are visible, identify points of division. You should be able to cut cleanly into the crown, with either side of the cut having plenty of roots left over to continue growth. You can split the plant in half or choose multiple divisions if it is big enough.
Split Up the Roots

Separate the sections with your hands or a sharp knife.
With a clean and sharp knife, cut into the crown to separate the sections. You can also pull them off with your hands, but a clean cut is more likely to heal quickly and allows you to be precise with the separation.
Repot the Plants

Pot the newly divided plants into separate pots.
Once the sections are separated, simply repot each division into a container with succulent potting mix. You can replant one of the divisions into the previous container as it should be small enough to not fill up the entire pot.
Method 3: Pups
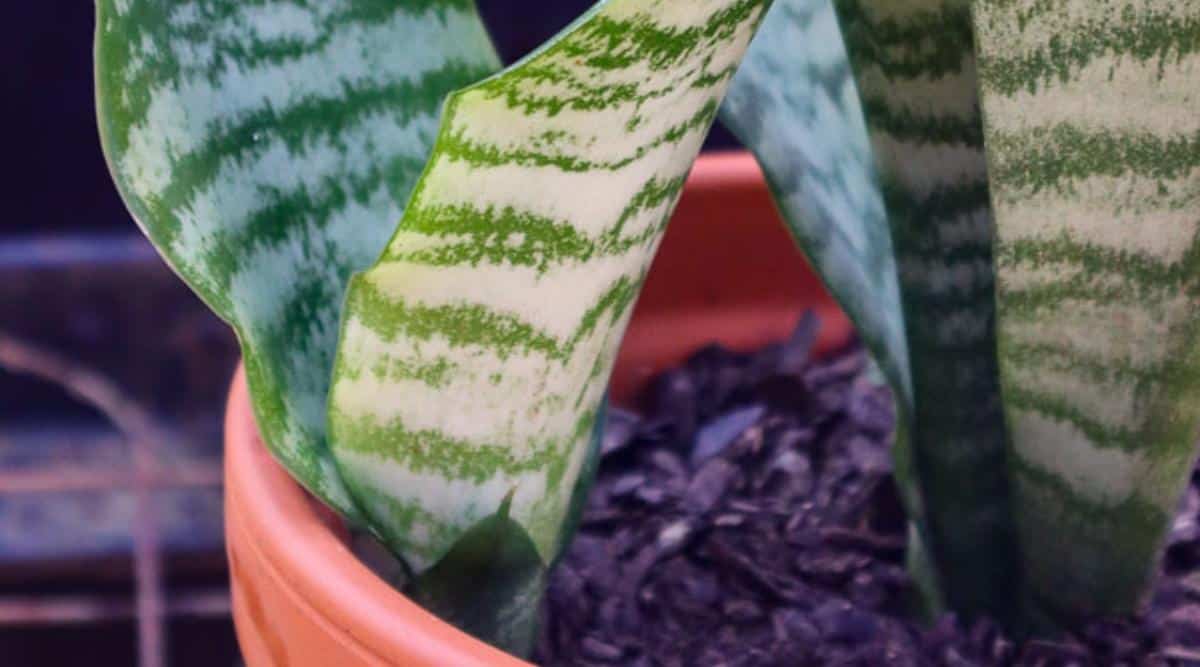
Pups from the plant can be used to propagate Snake Plants.
With the right care and in the right conditions, your Snake Plant will likely do all the hard work for you. These succulents produce baby versions of themselves, known as pups, right next to the main plant. This is how they naturally spread.
We can take advantage of this process by removing those pups and replanting them in a different container to continue growing into a full plant.
Depending on your soil level and how deep the division is, you may be able to do this by simply cutting into the plant from above the soil, eliminating any need to remove the plant from its pot. However, if you want to see where the root growth begins and ensure a clean removal, repotting is recommended.

Select and divide the pup away from the parent plant.
Following the same steps above for division, identify any pups that are viable for replanting. They should have a few leaves and several roots to grow effectively on their own. You can snap these off the main plant or cut them off with a sharp knife, keeping as many roots with the pup as possible.

Plant the separated pup plant into its own pot.
Grab a small container and plant the pup on its own, leaving enough space for the rapid expansion to come.
After Care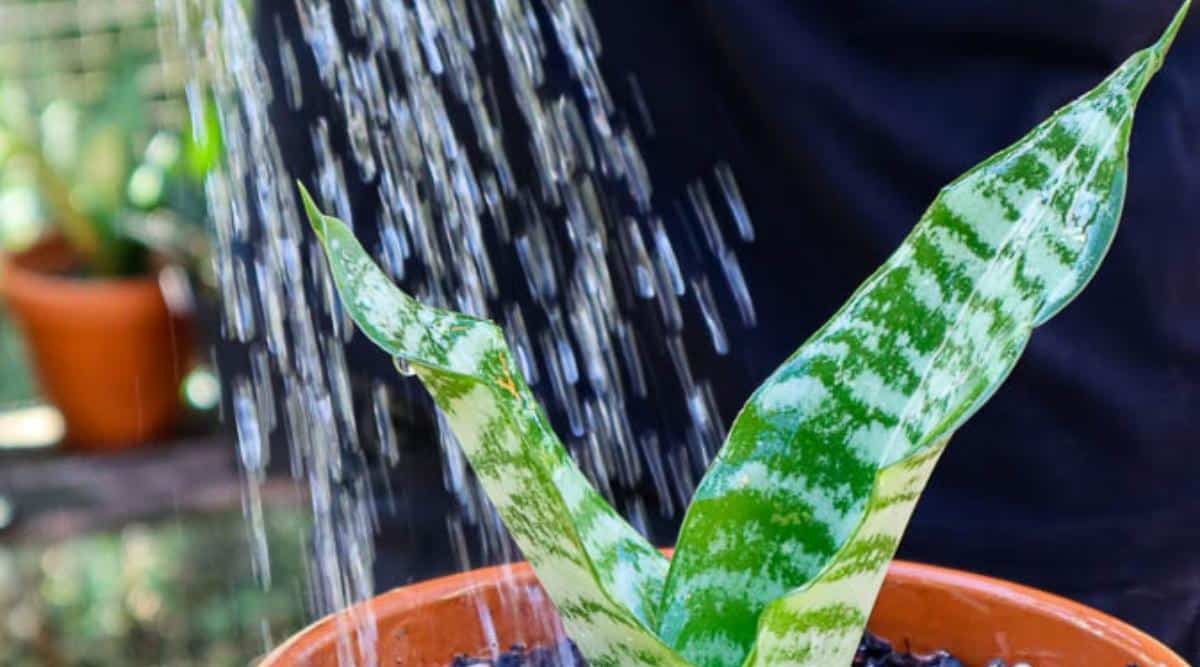
Water your propagating Snake Plant thoroughly to jump-start a healthy plant.
Once you’re finished planting, water thoroughly to keep the soil moist. This will encourage new root growth and will stop the cuttings or divisions from drying out. Move the pot to a warm and bright spot to encourage new growth and limit the adjustment period the plants will need after all that stress.
If you’ve propagated from leaf cuttings, keep the soil moist until root growth develops. You’ll know roots have started to grow when there is resistance to being pulled from the container. After a few weeks, limit watering until the individual cuttings are ready for transplanting.
Divisions and pups can largely be treated as you would a normal Snake Plant. They have roots to facilitate growth and are therefore quite susceptible to root rot. If placed in the right area, growth should bounce back within a few weeks.
Avoid fertilizing immediately after planting as this can lead to burning of the roots and leaves. The fresh soil the plants are in should be enough to keep them going for a while. After about two months, you can apply a suitable fertilizer if growth is slow.
Snake Plant Care
Once you’ve successfully propagated your plant, there are a few important care factors you’ll want to make sure you provide. Doing so will help to ensure the successful growth of your newly propagated plant. Let’s take a deeper look!
Light

Bright and indirect light from a window is best for Snake Plants to thrive.
Snake Plants are incredibly easygoing, handling almost any lighting condition. Those accustomed to indoor growth prefer bright, indirect light with some direct morning sun but can handle low light conditions well.
Keep in mind that the leaves will stretch and growth will slow in low light, so this is not recommended if you want your plant to look lush and healthy.
Snake Plants can also handle the direct sun well, provided they are slowly introduced to these conditions. They will generally grow quicker when given a few hours of direct sun thanks to their succulent nature.
Start with one hour of gentle morning sun and increase the times slowly, keeping them in bright indirect light for the rest of the day.
Watering
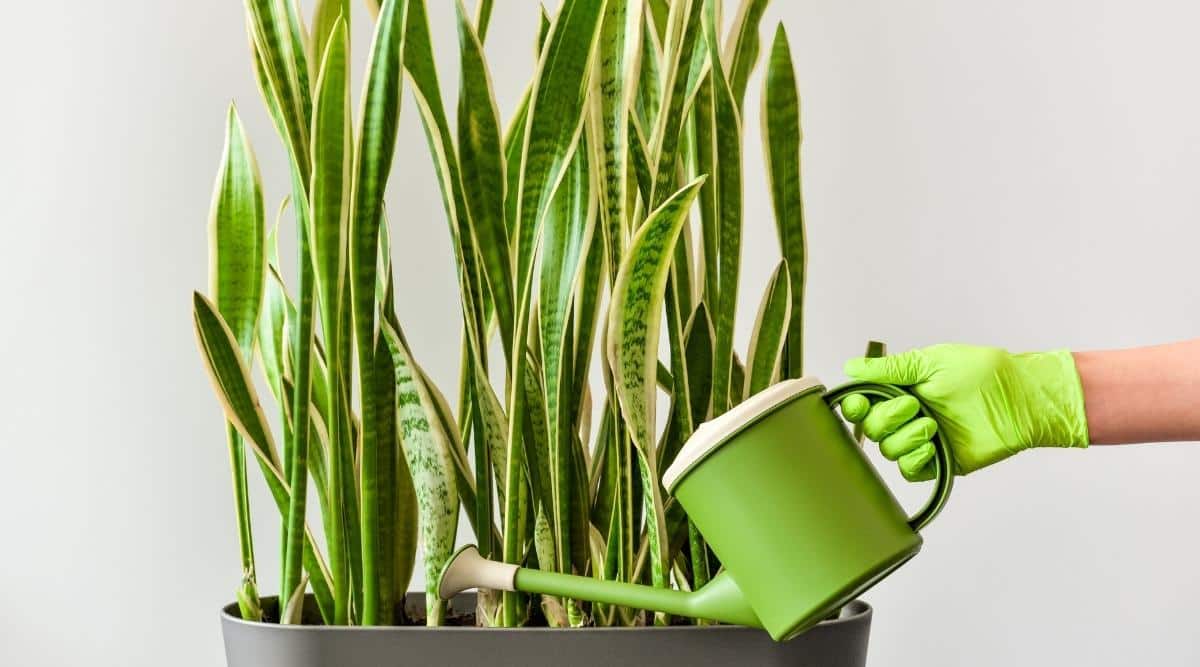
The best time to water Snake Plants is when the top 1-2 inches of soil are dry.
The low-maintenance nature of these plants extends to their watering routine. As succulents, Snake Plants hold plenty of water in their tall and juicy leaves. They are used to dry soil in their native habitats and can’t stand being overwatered.
Especially for Snake Plants grown indoors where evaporation and light are lower, wait for the soil to dry out almost completely before watering again. Never water when the top layer of soil is still moist as this will quickly lead to rotting.
If the leaves become mushy, especially at the base, repot immediately and remove any signs of root rot. If it is too late to save the plant, try to grab some cuttings to propagate from to build up your stock again.
Underwatering is incredibly unlikely, especially in winter when they can largely survive without water. However, they will grow better when watered consistently as the soil dries out, keeping the leaves plump and happy.
Temperature

Snake Plants prefer warm environments without drafts.
Snake Plants come from the tropics, requiring warmth and humidity to grow their best. They face damage when exposed to the cold and shouldn’t be left in temperatures below 40F. They are more tolerant of cold than other houseplants but grow far better when temperatures are higher and consistent at around 75°F throughout the year.
Maintenance
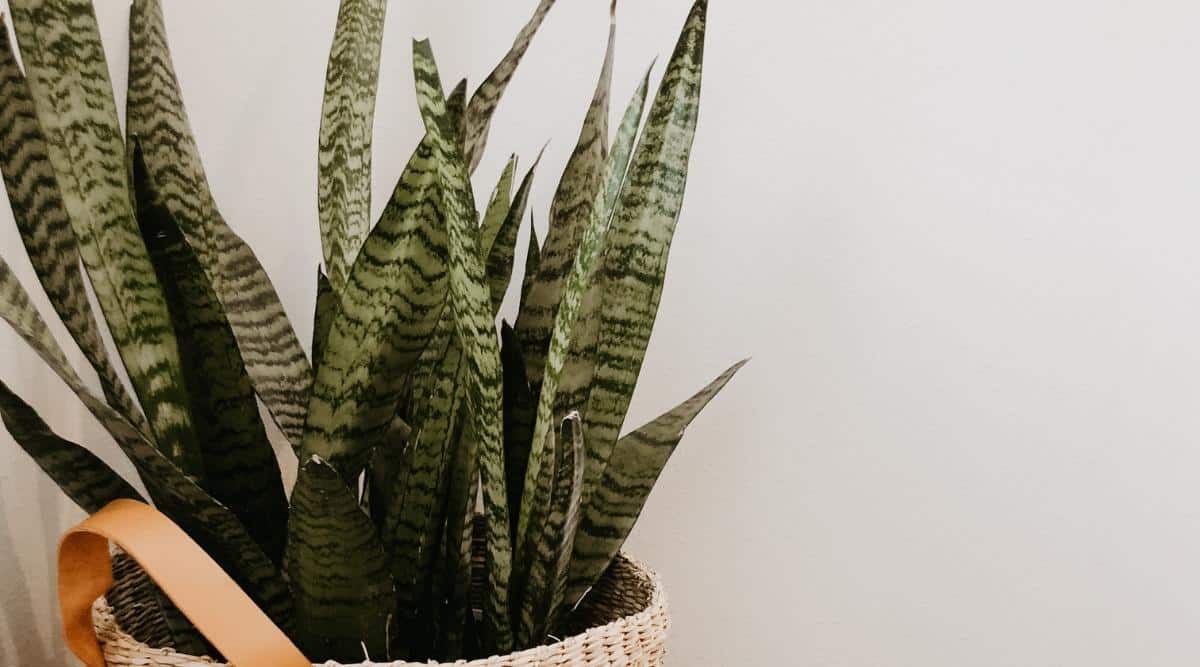
These houseplants are some of the easiest to care for and grow.
Snake Plants are not difficult to care for and require almost no attention. In fact, they generally grow better when left alone compared to being fussed over. They don’t even need to be fertilized, preferring low-quality soil to grow their best. Repotting when the plant outgrows its container is about all you’ll need to consider when choosing a Dracaena trifasciata.


